
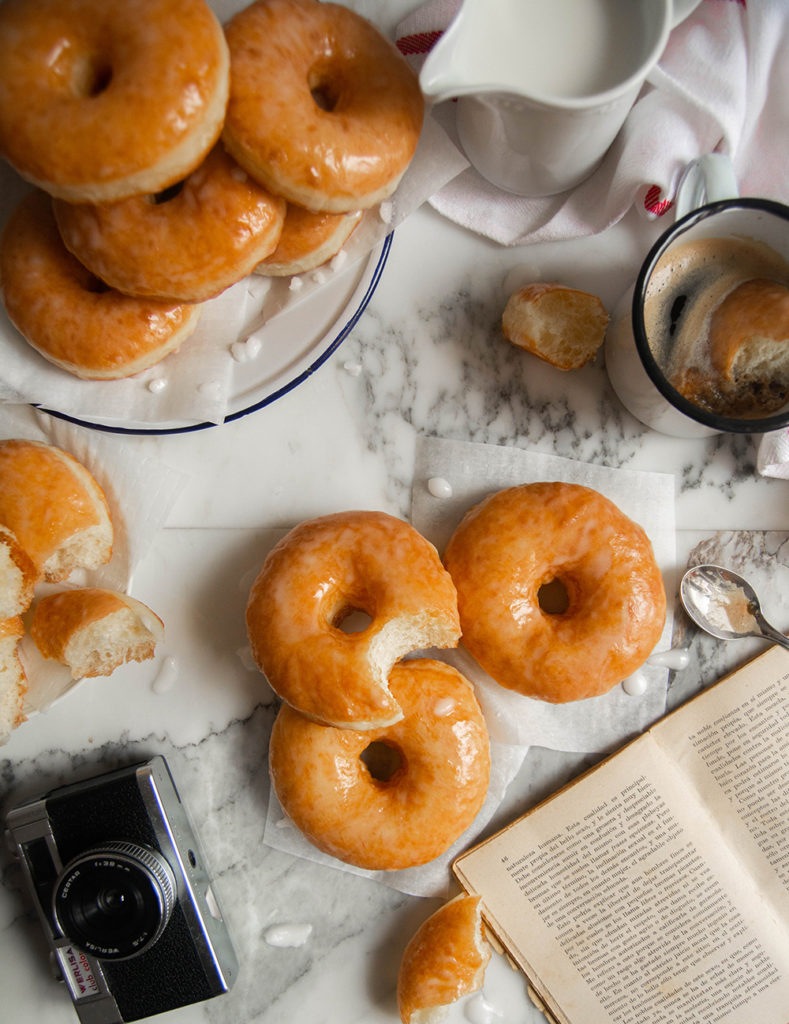

Craving for doughnuts, recipe on the table and let’s bake. I know I’m not the only one who loves freshly baked pastry, I mean who doesn’t? that’s why I give you my versión of classic homemade doughnuts with all the needed tips for a professional bakery result at home. Trust me you wouldn’t be able to eat just one, they are too tasty!
As always I recommend you to read all the recipe before starting, and if you have any questions contact me through my bloody_delicious Instagram account and I’ll be happy to answer all your questions.
You may ask yourself what is the difference between plain flour (W100) and strong flour (W250 to W300). It is simple, strong flour that contains more gluten than the plain one. If your flour contains more gluten, the dough result will be more resistant and flexible and it can absorb more liquid and fat. The flour strength, as you have already seen, it’s measured with W in Spain and is indicated on the packaging.
Therefore, if you want to have a resistant and flexible result for those doughs containing lots of hydration and fat then you’ll need strong flour, as it will be in the brioche.
If on the other hand, you prefer a non-flexible and delicate result for those doughs with volume and a spongy finished look then you’ll need plain flour, as it will be in a simple sponge cake.
If you make this doughnut recipe, please don’t forget to tell me how was it down belong in the comments! I assure you will love them and surely you will repeat : )
Let’s bake!
CLASSIC DOUGHNUTS
10 medium doughnuts
· Ingredients ·
Pre-ferment:
3 g fresh yeast
90 ml warm water, 26ºC
150 g strong flour w 300, or higher
Doughnut dough:
125 g strong flour w 300, or higher
30 g sugar
3 egg yolks
10 ml whole milk
1 tsp vanilla essence
30 g fresh yeast
1 tsp salt
30 g room temperature unsalted butter
sunflower oil, to fry
Icing:
150 g icing sugar
38 ml wáter
· Step by step ·
Pre-ferment:
Warm the water at 26ºC approximately, don’t let it exceed 35ºC for better fermentation. If you don’t have a kitchen thermometer, 10 seconds in the microwave at high power will do.
Crumble the fresh yeast and dissolve it in the warm water.
In a medium bowl, mix this water with the flour until it is homogeneous.
Cover the bowl with a kitchen towel and leave it to ferment for 1h, or until it doubles the size.
Doughnut dough:
In a small bowl beat the yolks along with the milk and vanilla.
Transfer your pre-ferment to a big bowl or a stand mixer with the dough hook to knead.
Add the flour, the sugar, the previous yolk mixture, the crumbled fresh yeast and salt.
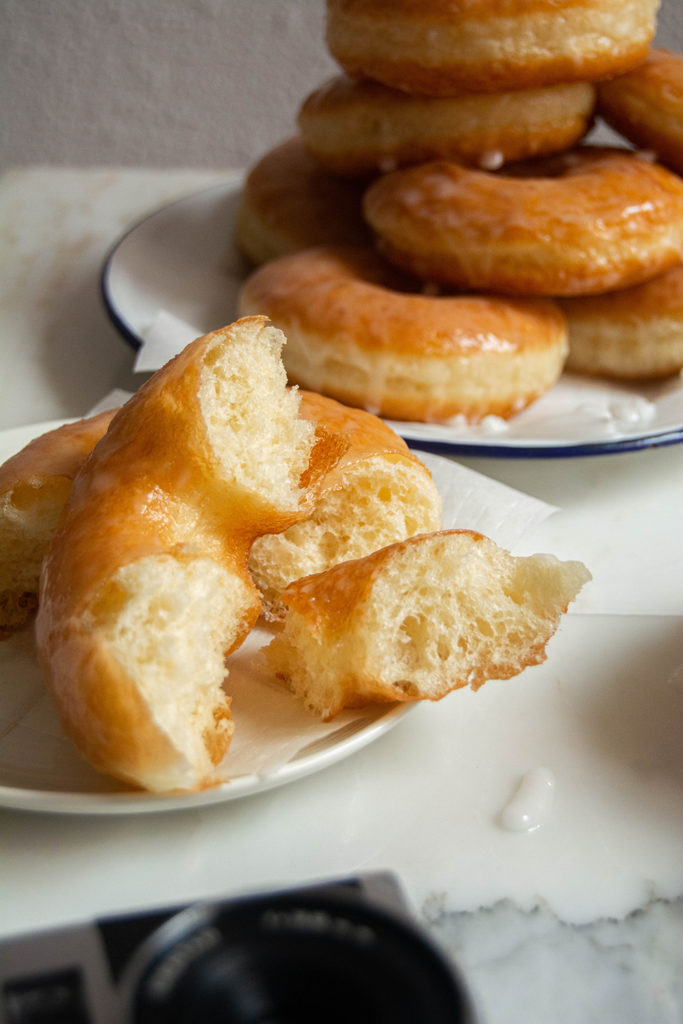
Work out the dough for about 35 minutes approximately at high speed, if you do it with a stand mixer, or until it develops the gluten. You’ll know when the gluten has been well developed if you take a little piece of dough and stretch it with your fingers, you’ll see it is super elastic and translucid.
Now is the moment to add the butter at room temperature twice.
Keep kneading at high speed until the dough looks smooth, elastic and slightly sticky. You’ll see it separates from the edges of the bowl but not from the bottom.
Make a ball with it and place it in a big bowl with a bit of sunflower oil, so it doesn’t stick to the bowl.
Cover the bowl with a kitchen towel and leave it to rest for 1h, or until it doubles its size.
Flour your work surface and with the help of a rolling pin stretch the dough, with 1 cm high approximately.
Cut the dough with a cookie cutter, or whatever you have at home. My measurements are 9 cm x 2 cm.
Place them on a tray over some baking paper squares, more or less the donuts size, later on, it’ll be easier for you to take them to fry without deforming them.
With the help of a kitchen brush, slightly paint the donuts with room temperature water, this will bring humidity and will help to have a crunchiest crust and it’ll also not stick to the kitchen towel when they rise.
Cover the tray with a kitchen towel and let them rest for 1h, or until they double the size.
Prepare a saucepan with some sunflower oil, enough for the donut to don’t touch the bottom of it.
The oil must be at 175ºC, make sure it never exceeds 190ºC or they’ll easily burn.
Keep the power of the heat low so you can control the temperature.
Fry the doughnut one by one, for about 30 or 45 seconds on each side.
Place them in a tray covered with kitchen paper, it’ll absolve the remaining oil.
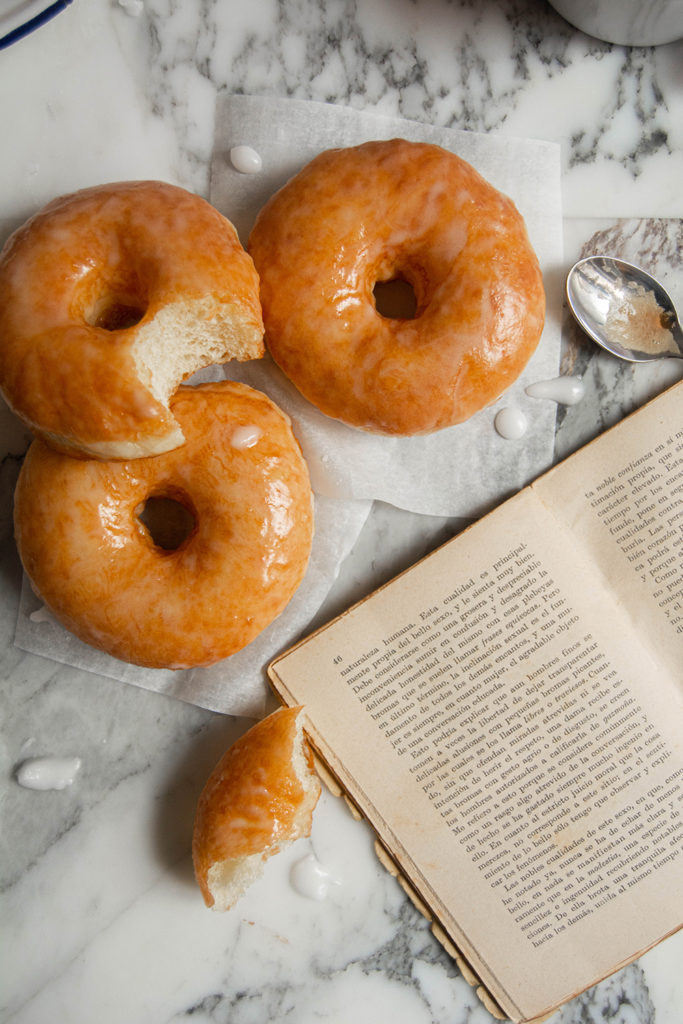
Once they’re cooled cover them with the icing and place them on an oven rack for the icing to fall down.
They have the perfect texture the very same day they are made, but the next day they are still spongy, as long as you keep them inside an airtight container.
Icing:
In a medium bowl, whisk the icing sugar with the water.
· Tips ·
If you don’t have a stand mixer you can knead by hand, to don’t get too tired you can knead for 5 minutes and then leave the dough rest for 5 more minutes, do this until the dough has its gluten ready because when it rests it continuous developing the gluten.
If you don’t have a thermometer, when you fry try with a little donut hole, if it gets brown in 45 seconds it means your oil is ready to fry.
You can change the icing measures depending on how thick you like it to be, if you prefer it more liquid add bit by bit more water. The humidity of where you live will affect as well, if there is more humidity in the air you’ll need a bit more icing sugar to compensate.
Enjoy!
Follow me on my social media:
Instagram
Pinterest
Facebook
I would love to see your take on my recipes, tag me or use the hashtag #bloodydelicious
All my social media links are in the sidebar, come and say Aloha!
Share and follow me for more recipes to come : )
Leave a Reply